Automation with Pipelines
Background: Web Hooks
Most Git repository servers support the concept of web hooks — calling to an external source via HTTP(S) when a change in the code repository happens. OpenShift provides an API endpoint that supports receiving hooks from remote systems in order to trigger builds. By pointing the code repository’s hook at the OpenShift Pipelines resources, automated code/build/deploy pipelines can be achieved.
Adding Triggers to your Pipeline
Tekton Triggers enable us to configure Pipelines to respond to external events (Git push events, pull requests etc) such as Web Hooks.
Adding triggering support requires the creation of a TriggerTemplate, TriggerBinding, and an EventListener in our project.

Let’s see each component in detail:
-
TriggerTemplate: a trigger template is a template for newly created resources. It supports parameters to create specific
PipelineResourcesandPipelineRuns. -
TriggerBinding: validates events and extracts payload fields
-
EventListener: connects
TriggerBindingsandTriggerTemplatesinto an addressable endpoint (the event sink). It uses the extracted event parameters from each TriggerBinding (and any supplied static parameters) to create the resources specified in the corresponding TriggerTemplate. It also optionally allows an external service to pre-process the event payload via the interceptor field.
Now let’s create them all together for our Pipeline:
oc create -f https://raw.githubusercontent.com/openshift-roadshow/nationalparks/master/pipeline/nationalparks-triggers.yaml -n %PROJECT%This will create a new Pod with a Route that we can use to setup our Webhook on GitHub to trigger the automatic start of the Pipeline.
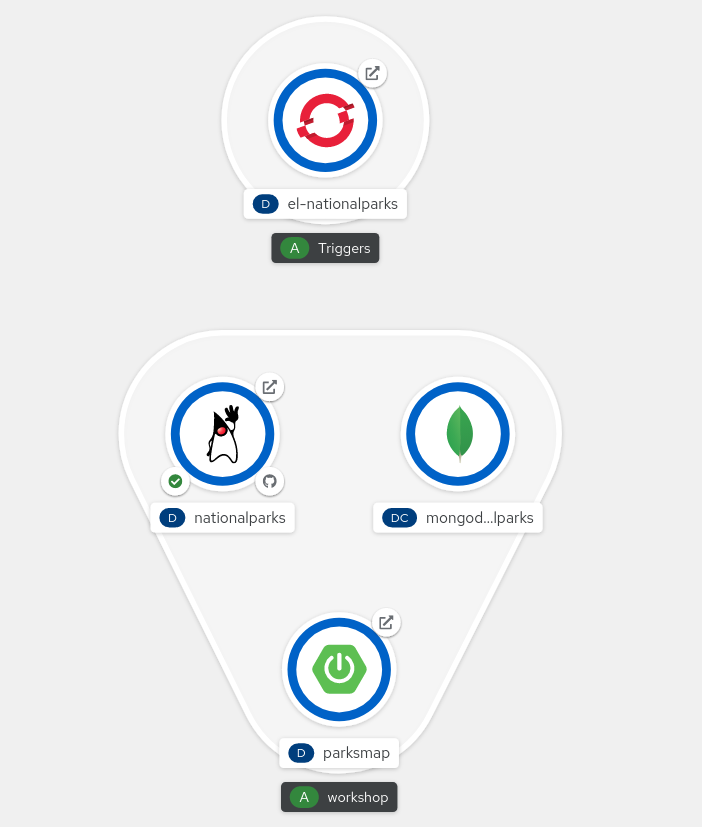
From left side menu, click on Topology to verify if a new Deployment el-nationalparks for the EventListener has ben created:
Exercise: Fork NationalParks repository from GitHub
A fork is a copy of a repository. Forking a repository allows you to freely experiment with changes without affecting the original project.
In this step we will fork the original nationalparks repository to apply our changes and automatically trigger the Pipeline through a GitHub Webhook that we’re going to configure.
Go to Nationalparks repository. From top-right side, click to Fork to start forking it into your account.
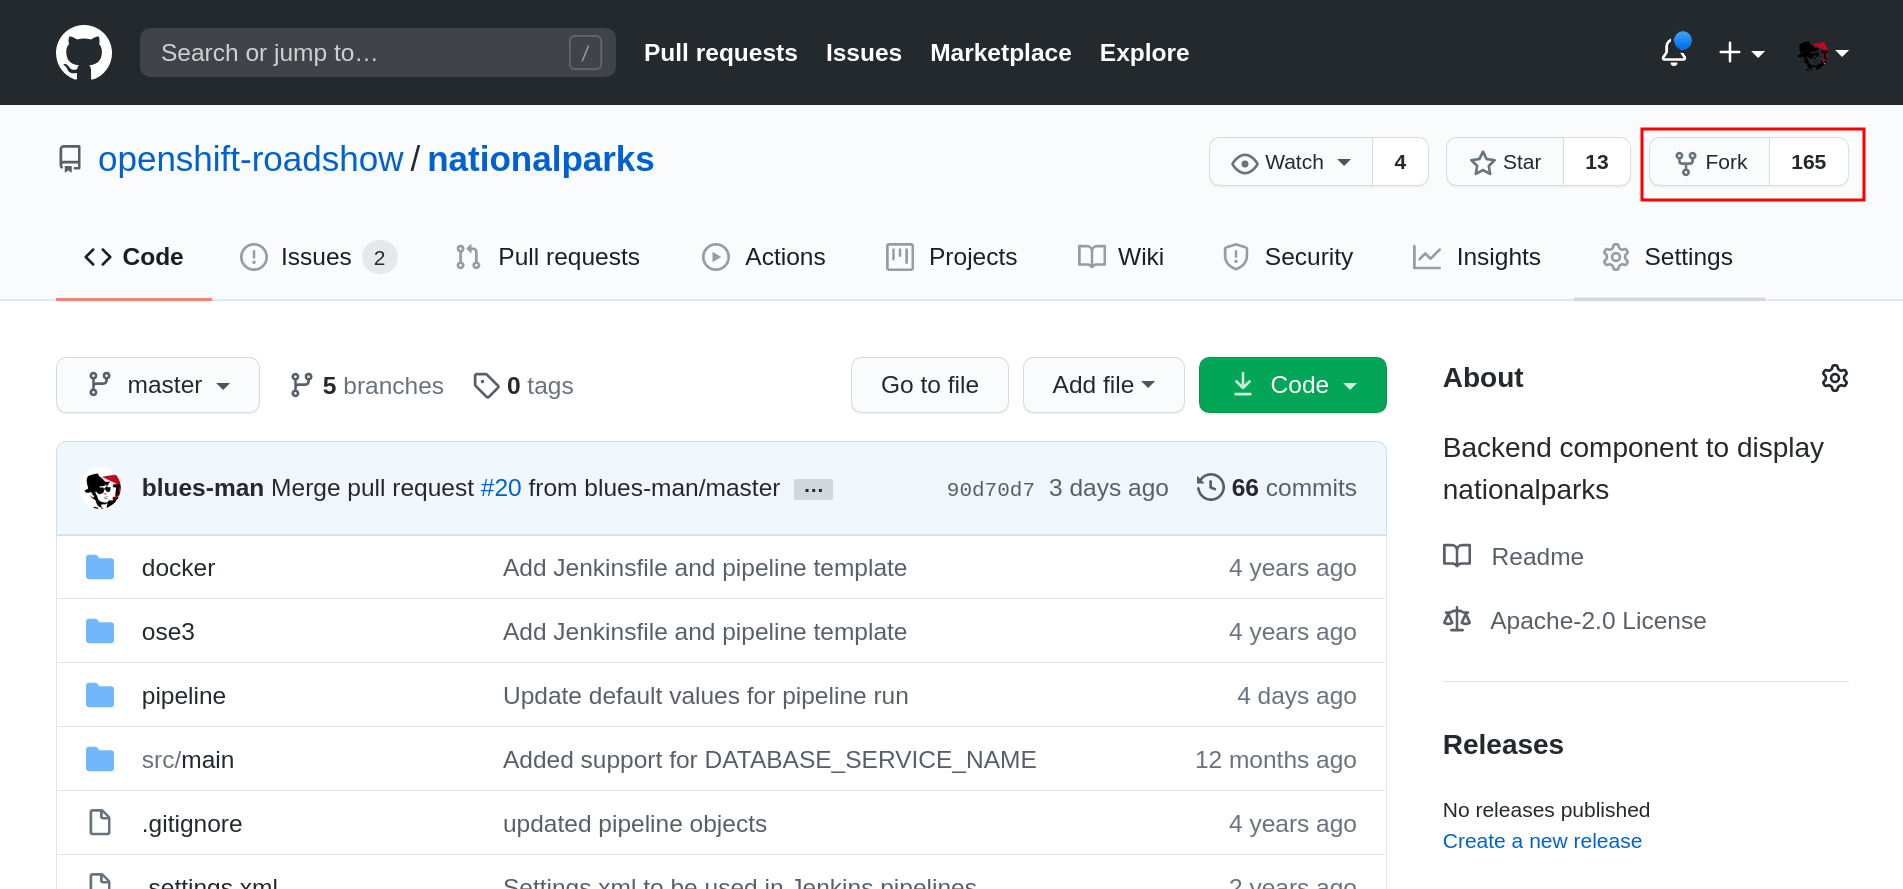
Select your account, and click Fork
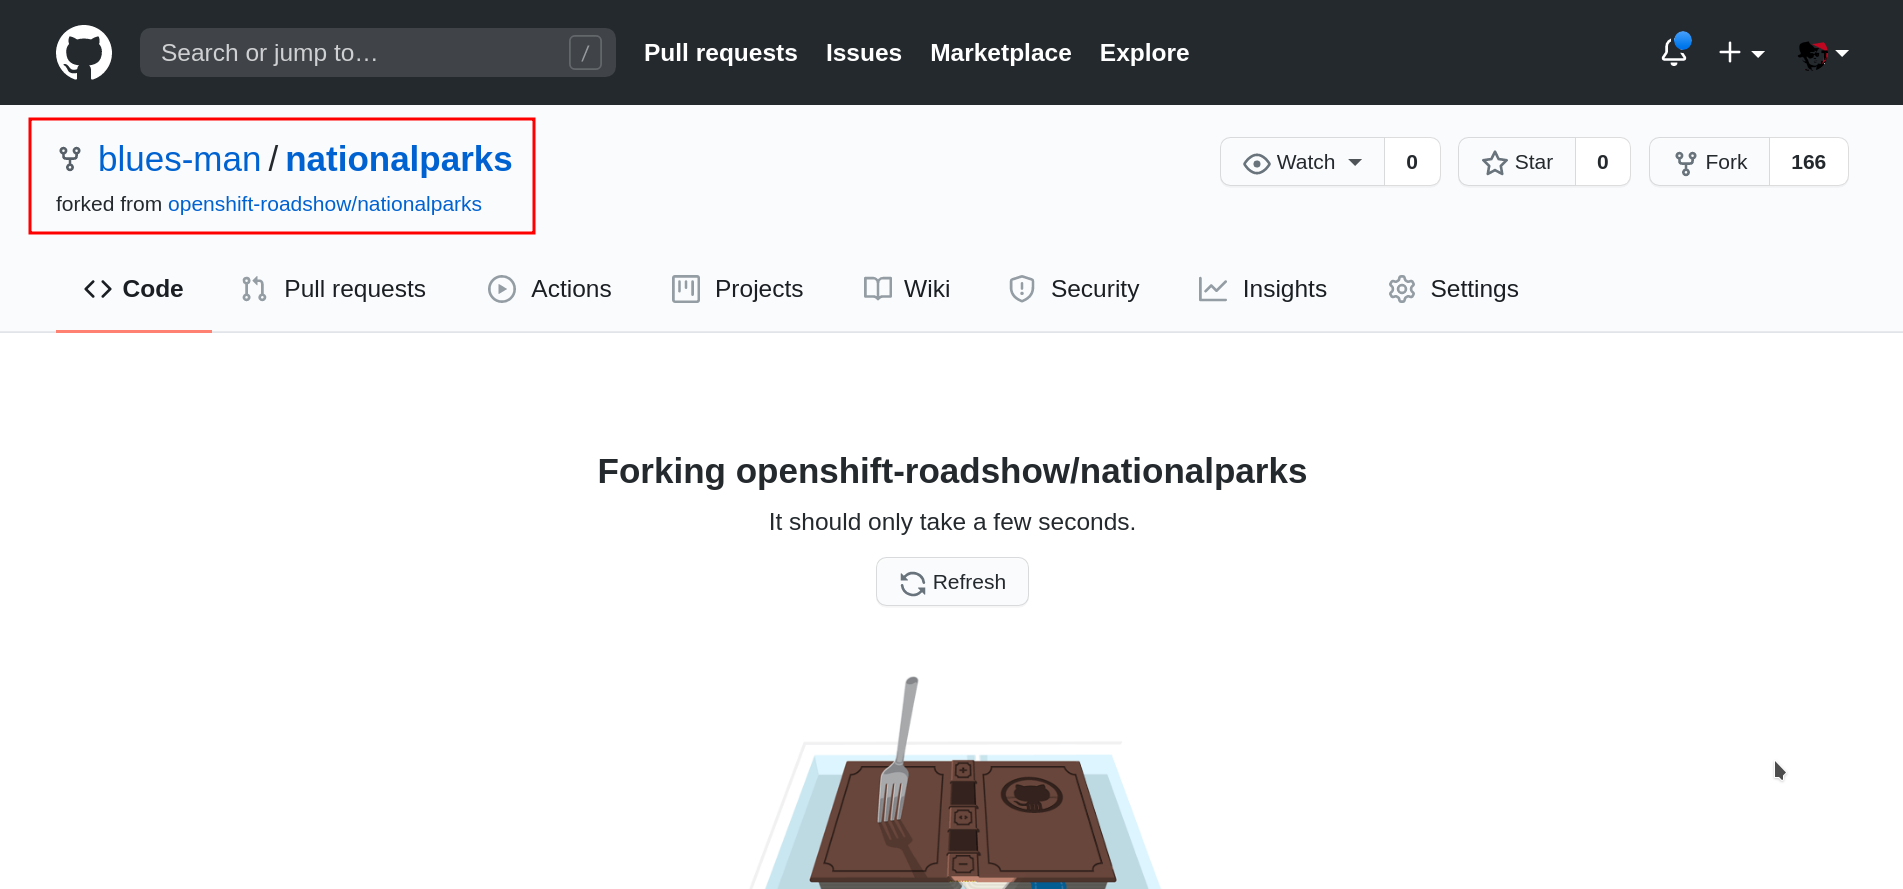
Your repository is forked now, we can start adding our automation to that.
Exercise: Configuring GitHub Web Hooks
From Topology, click to el-nationalparks Deployment, go into Routes section and and copy the el-nationparks Route URL.
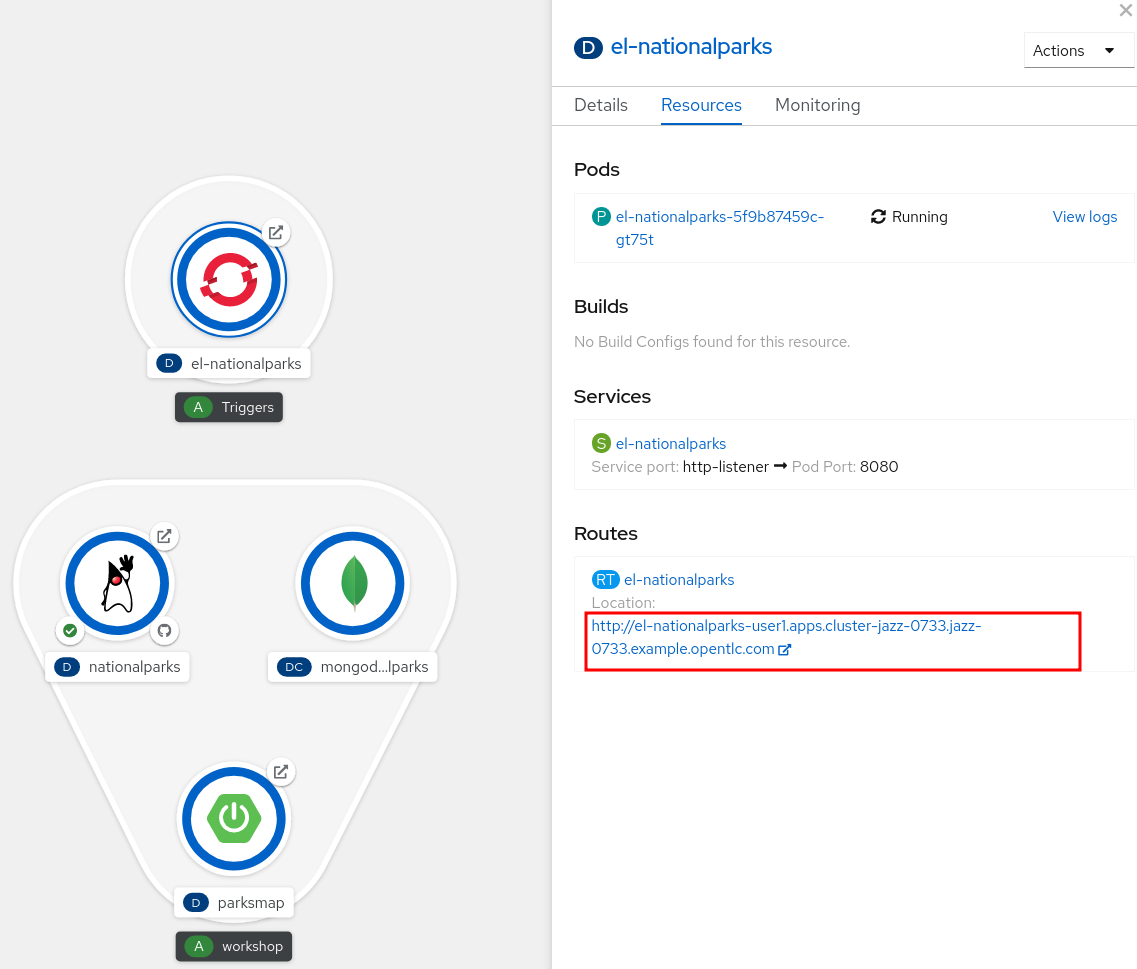
When using CRC, your OpenShift cluster is running in your computer and it is not externally accessible. In order to let GitHub trigger our Pipeline via a Web Hook, we can use Ngrok, an online service that exposes local servers to public internet over secure tunnels.
Let’s use a template to launch an Ngrok instance inside our project to link to our Tekton Eventlistener el-nationalparks:
oc new-app -f https://raw.githubusercontent.com/csrwng/ngrok/master/openshift/ngrok-template.yaml -p HOST=el-nationalparks -p PORT=8080 -n %PROJECT%You should see an output like this:
--> Deploying template "%PROJECT%/ngrok" for "https://raw.githubusercontent.com/csrwng/ngrok/master/openshift/ngrok-template.yaml" to project %PROJECT%

     * With parameters:
        * Host=el-nationalparks
        * Port=8080

--> Creating resources ...
    service "ngrok" created
    deploymentconfig.apps.openshift.io "ngrok" created
    route.route.openshift.io "ngrok" created
    imagestream.image.openshift.io "ngrok" created
--> Success
    Access your application via route 'ngrok-%PROJECT%.%CLUSTER_SUBDOMAIN%'
    Run 'oc status' to view your app.
Get the Ngrok Route URL:
oc get route ngrok -n %PROJECT%Open it in the browser to get the Ngrok tunnel URL that we can use and copy the HTTP URL you see in the webpage as shown below, this will be the one we will use to configure the Github Webhook.
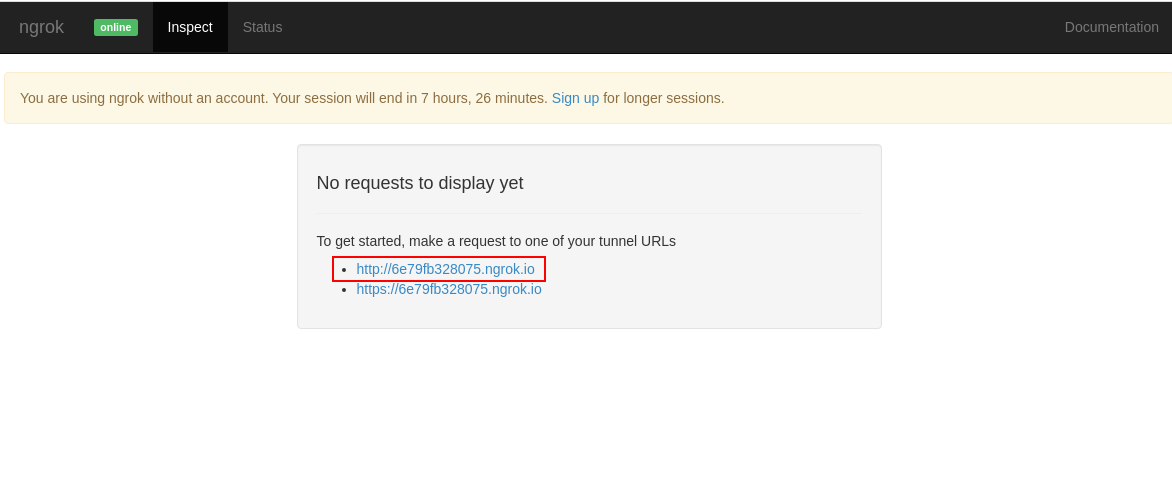
Verify that it is working, when opening in the browser you should get the response from the EventListener we are exposing through an Ngrok tunnel:
{"eventListener":"nationalparks","namespace":"%PROJECT%","eventID":"vzkx5"}Once you have the URL copied to your clipboard, navigate to the code repository fork that you have on GitHub.
From your fork page top-right menu, click Settings. Then from result left-side menu, click Webhook, then from right side click Add webhooks.
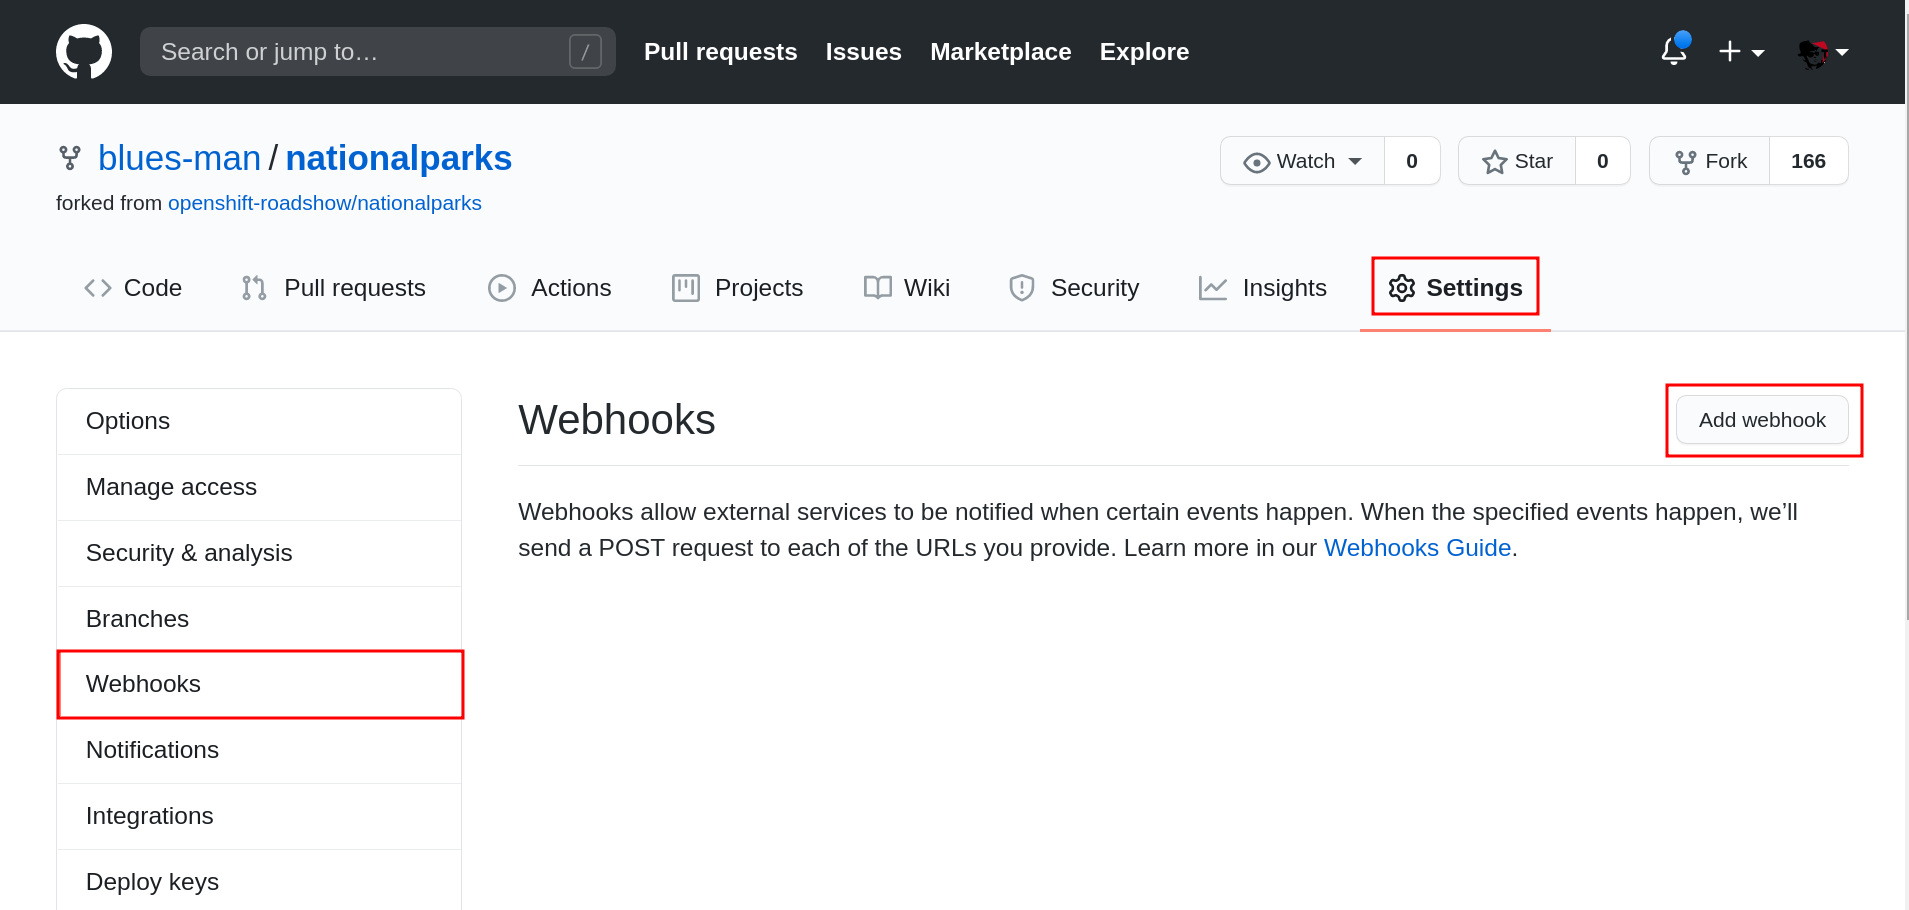
In the next screen, paste your link into the "Payload URL" field. You can leave the secret token field blank — the secret is already in the URL and does not need to be in the payload.
Change the Content Type to application/json.
Finally, click on Add Webhook.
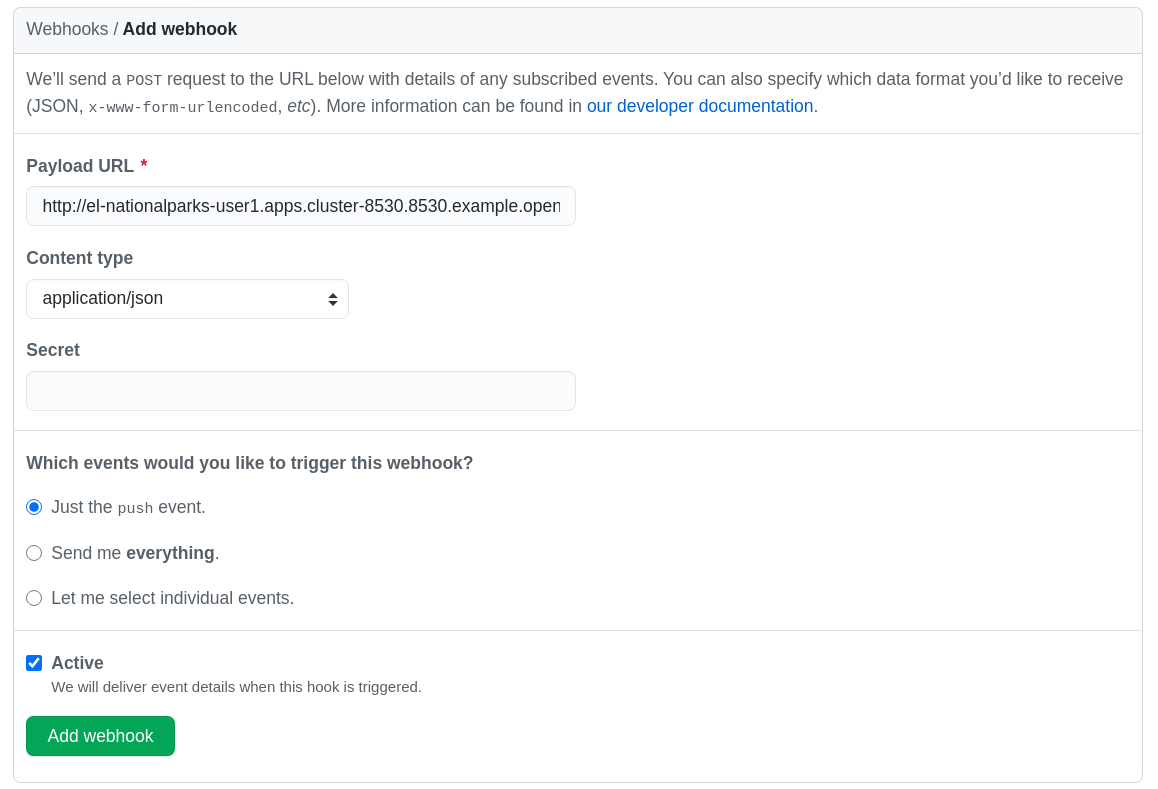
Boom! From now on, every time you commit new source code to your GitHub repository, a new build and deploy will occur inside of OpenShift. Let’s try this out.
Exercise: Using GitHub Web Hooks
Click the Code tab in GitHub. This is GitHub’s repository view.
Make sure that the drop-down menu at the upper right is set for
the master branch. Navigate to the
following path:
|
src/main/java/com/openshift/evg/roadshow/parks/rest/Then click on the BackendController.java file.
Once you have the file on the screen, click the edit button in the top right hand corner as shown here:
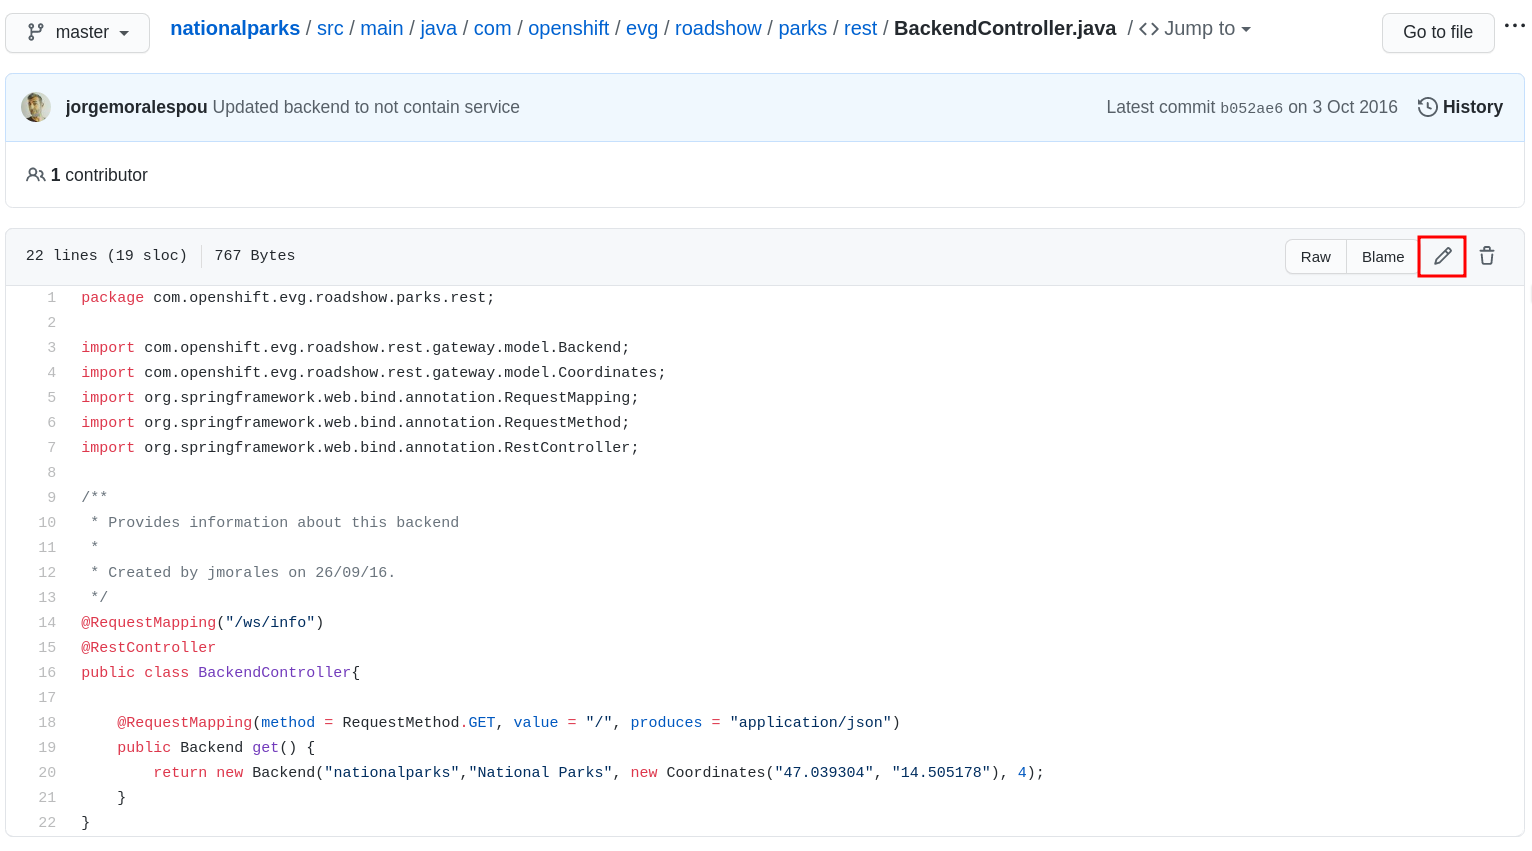
Change line number 20:
return new Backend("nationalparks","National Parks", new Coordinates("47.039304", "14.505178"), 4);To
return new Backend("nationalparks","Amazing National Parks", new Coordinates("47.039304", "14.505178"), 4);Click on Commit changes at the bottom of the screen. Feel free to enter a commit message.
Once you have committed your changes, a new PipelineRun should almost instantaneously be
triggered in OpenShift. Click Pipeline in the left navigation menu then nationalparks-pipeline. You should see a new one running:
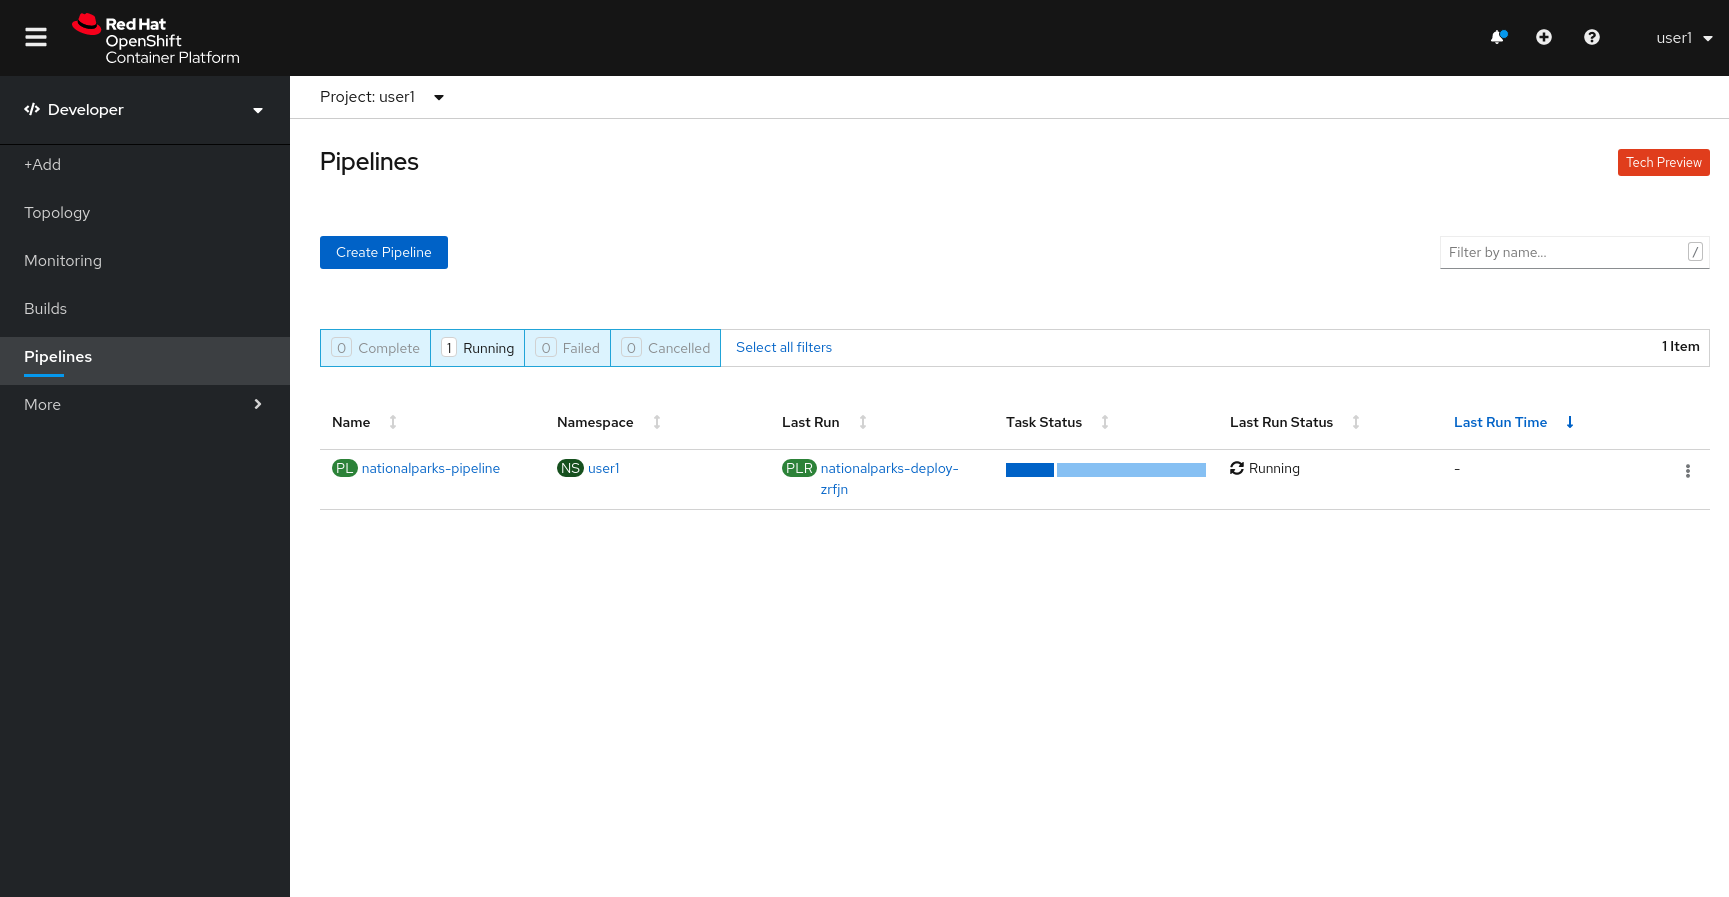
or run the following command to verify:
oc get pipelinerunsOnce the build and deploy has finished, verify your new image was automatically deployed by viewing the application in your browser:
You should now see the new name you have set in the JSON string returned.
| To see this in the map’s legend itself, you will need to scale down your parksmap to 0, then back up to 1 to force the app to refresh its cache. |