MTO Installation Guide#
Once the necessary preparations are complete, you can proceed with the installation section.
The installation process consists of two steps:
Install MTO Core#
We will be using helm to install the operator.
helm install tenant-operator oci://ghcr.io/stakater/public/charts/multi-tenant-operator --version 1.1.0 --namespace multi-tenant-operator --create-namespace
We will wait for the pods to come in running state.
NAME                                                              READY   STATUS    RESTARTS   AGE
tenant-operator-namespace-controller-768f9459c4-758kb             2/2     Running   0          5m
tenant-operator-pilot-controller-7c96f6589c-d979f                 2/2     Running   0          5m
tenant-operator-resourcesupervisor-controller-566f59d57b-xbkws    2/2     Running   0          5m
tenant-operator-template-quota-intconfig-controller-7fc99462dz6   2/2     Running   0          5m
tenant-operator-templategroupinstance-controller-75cf68c872pljv   2/2     Running   0          5m
tenant-operator-templateinstance-controller-d996b6fd-cx2dz        2/2     Running   0          5m
tenant-operator-tenant-controller-57fb885c84-7ps92                2/2     Running   0          5m
tenant-operator-webhook-5f8f675549-jv9n8                          2/2     Running   0          5m
Enable MTO Console#
Execute the following command to enable MTO console
kubectl patch integrationconfig tenant-operator-config \
  -n multi-tenant-operator --type merge --patch "{
  \"spec\": {
    \"components\": {
      \"console\": true,
      \"ingress\": {
        \"console\": {
          \"host\": \"console.<FULL_SUBDOMAIN>\",
          \"tlsSecretName\": \"<SECRET_NAME>\"
        },
        \"gateway\": {
          \"host\": \"gateway.<FULL_SUBDOMAIN>\",
          \"tlsSecretName\": \"<SECRET_NAME>\"
        },
        \"keycloak\": {
          \"host\": \"keycloak.<FULL_SUBDOMAIN>\",
          \"tlsSecretName\": \"<SECRET_NAME>\"
        },
        \"ingressClassName\": \"nginx\"
      },
      \"showback\": true
    }
  }
}"
| Placeholder | Description |
|---|---|
<FULL_SUBDOMAIN> |
Full subdomain of the EKS cluster e.g. iinhdnh6.demo.kubeapp.cloud |
<SECRET_NAME> |
Name of the secret that should be used as TLS secret |
Wait for the pods to be ready with the following command
kubectl wait --for=condition=ready pod -n multi-tenant-operator --all --timeout=300s
List the ingresses to access the URL of MTO Console
> kubectl get ingress -n multi-tenant-operator

NAME                       CLASS   HOSTS                                  ADDRESS                                                                          PORTS     AGE
tenant-operator-console    nginx   console.iinhdnh6.demo.kubeapp.cloud    ae51c179026a94c90952fc50d5d91b52-a4446376b6415dcb.elb.eu-north-1.amazonaws.com   80, 443   23m
tenant-operator-gateway    nginx   gateway.iinhdnh6.demo.kubeapp.cloud    ae51c179026a94c90952fc50d5d91b52-a4446376b6415dcb.elb.eu-north-1.amazonaws.com   80, 443   23m
tenant-operator-keycloak   nginx   keycloak.iinhdnh6.demo.kubeapp.cloud   ae51c179026a94c90952fc50d5d91b52-a4446376b6415dcb.elb.eu-north-1.amazonaws.com   80, 443   24m
MTO Console Admin Login#
Patch the following integration config to give privileged access to MTO's default admin user
kubectl patch integrationconfigs.tenantoperator.stakater.com -n multi-tenant-operator tenant-operator-config --type=merge --patch "{
    \"spec\": {
        \"accessControl\": {
            \"privileged\": {
                \"users\": [
                    \"mto@stakater.com\"
                ]
            }
        }
    }
}"
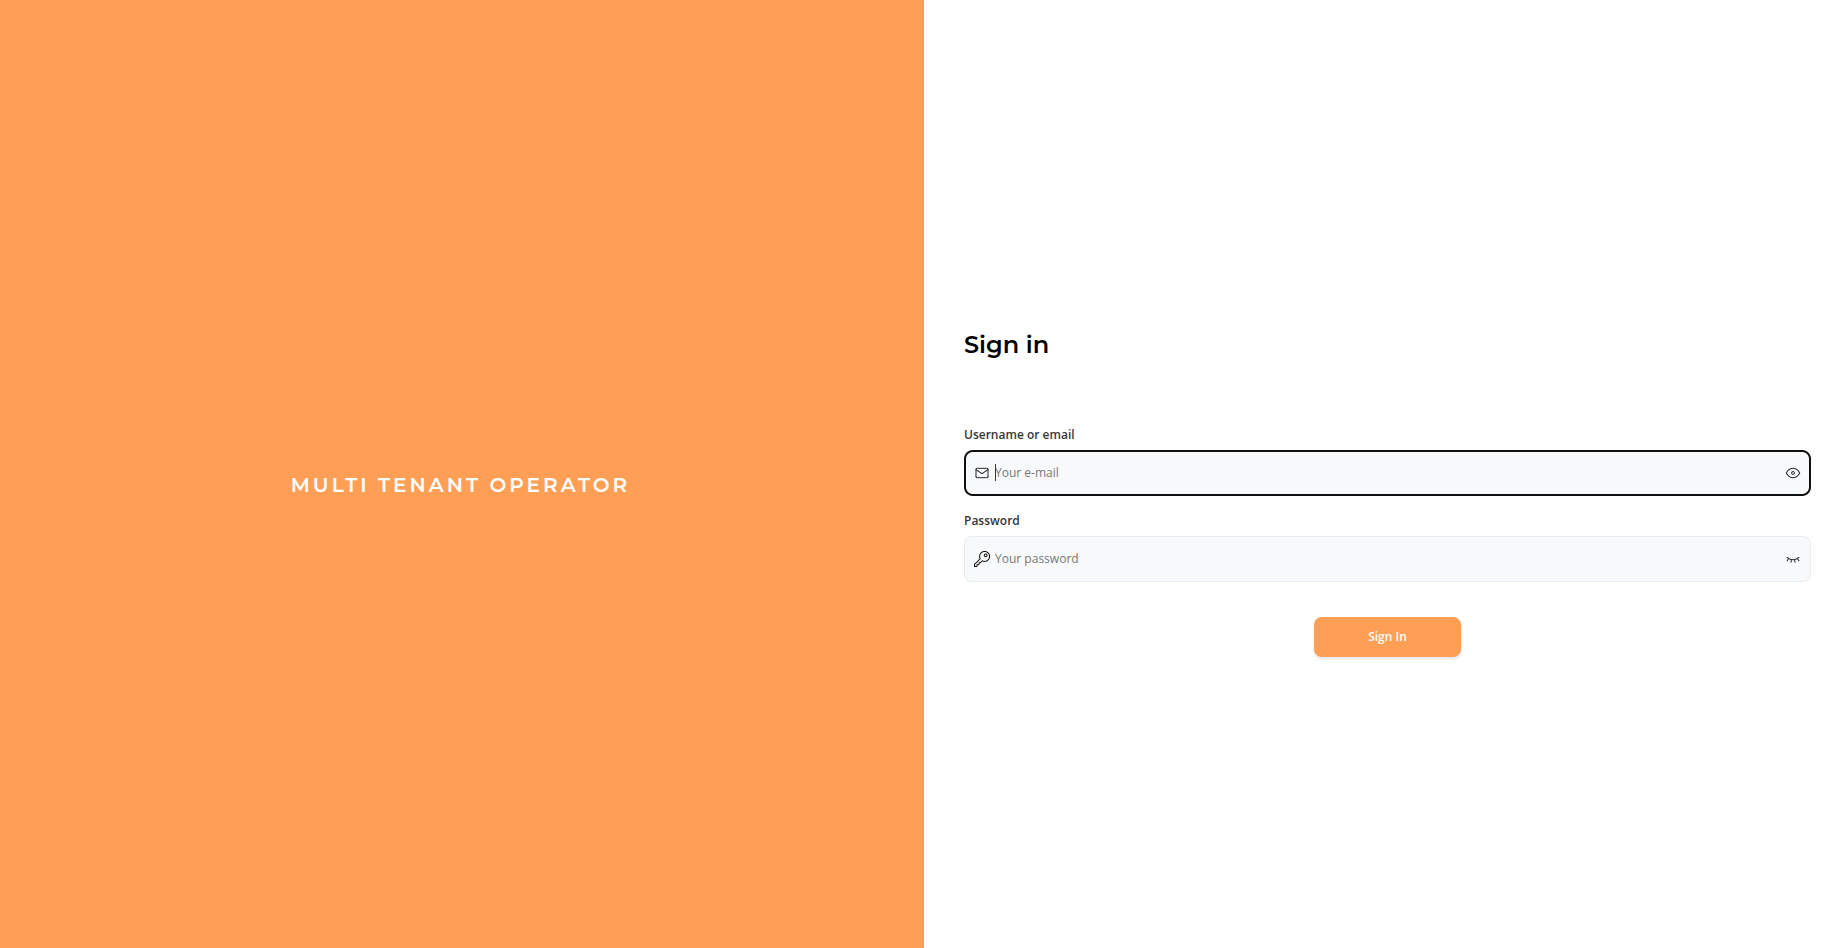
Open the Console URL and Log In with the admin user. Default username and password is mto
Dashboard will open after the successful login. Currently we don't have any tenants

What's Next#
Now lets create our first tenant on AKS.