MTO Validation Guide#
In this guide, we will set up two tenants—Logistics and Retail—for an imaginary e-commerce company, each with one user.
- Falcon will be the user assigned to the Logistics tenant.
- Bear will be the user assigned to the Retail tenant.
1. Create & Configure AWS IAM Users & Groups#
1.1. Create a user#
Create a user with username falcon@nordmart.com
$ aws iam create-user --user-name falcon@nordmart.com

Output:
{
    "User": {
        "Path": "/",
        "UserName": "falcon@nordmart.com",
        "UserId": "AIDAZFWZTAEJ7ILHDKLLD",
        "Arn": "arn:aws:iam::630742778131:user/falcon@nordmart.com",
        "CreateDate": "2025-02-03T13:09:51Z"
    }
}
1.2. Attach cluster access policy to user#
Create a AWS JSON policy file. This policy will allow the user to access the cluster.
{
    "Statement": [
        {
            "Action": "eks:DescribeCluster",
            "Effect": "Allow",
            "Resource": "*"
        }
    ],
    "Version": "2012-10-17"
}
Attach a policy to user by running the following command
aws iam put-user-policy --user-name falcon@nordmart.com --policy-document file://policy.json --policy-name ClusterAccess
1.3. Generate access key for the user#
Executing the following command will provide the Access Key Id and Access Secret Key Id that can be used to log in later
aws iam create-access-key --user-name "falcon@nordmart.com"
1.4. Grant user access to Kubernetes via ConfigMap#
Use the following command to map this user in aws-auth configmap in kube-system namespace.
eksctl create iamidentitymapping --cluster "<CLUSTER_NAME>" \
                                 --region "<AWS_REGION>" \
                                 --arn "<USER_ARN>" \
                                 --username "falcon@nordmart.com" \
                                 --no-duplicate-arns
Repeat the same steps to create another user bear@nordmart.com for retail tenant.
2. Create Keycloak user for MTO Console#
2.1. Create Keycloak User#
A Keycloak user with same username as IAM user needs to be created for MTO Console. In this section we will create a Keycloak user for Logistics tenant
Ensure that MTO Console is enabled by executing the following command
$ kubectl get integrationconfig tenant-operator-config -o=jsonpath='{.spec.components}' -n multi-tenant-operator
{"console":true,"showback":true}
List the ingresses to access the URL of MTO Console
kubectl get ingress -n multi-tenant-operator

NAME                       CLASS   HOSTS                                  ADDRESS                                                                          PORTS     AGE
tenant-operator-console    nginx   console.iinhdnh6.demo.kubeapp.cloud    ae51c179026a94c90952fc50d5d91b52-a4446376b6415dcb.elb.eu-north-1.amazonaws.com   80, 443   23m
tenant-operator-gateway    nginx   gateway.iinhdnh6.demo.kubeapp.cloud    ae51c179026a94c90952fc50d5d91b52-a4446376b6415dcb.elb.eu-north-1.amazonaws.com   80, 443   23m
tenant-operator-keycloak   nginx   keycloak.iinhdnh6.demo.kubeapp.cloud   ae51c179026a94c90952fc50d5d91b52-a4446376b6415dcb.elb.eu-north-1.amazonaws.com   80, 443   24m
-
Navigate to Keycloak and Login using default credentials
admin/admin -
Change the Realm from
mastertomto -
Navigate to Users and Click Add User
-
Provide a username, this username must be same as IAM username
falcon@nordmart.comin our case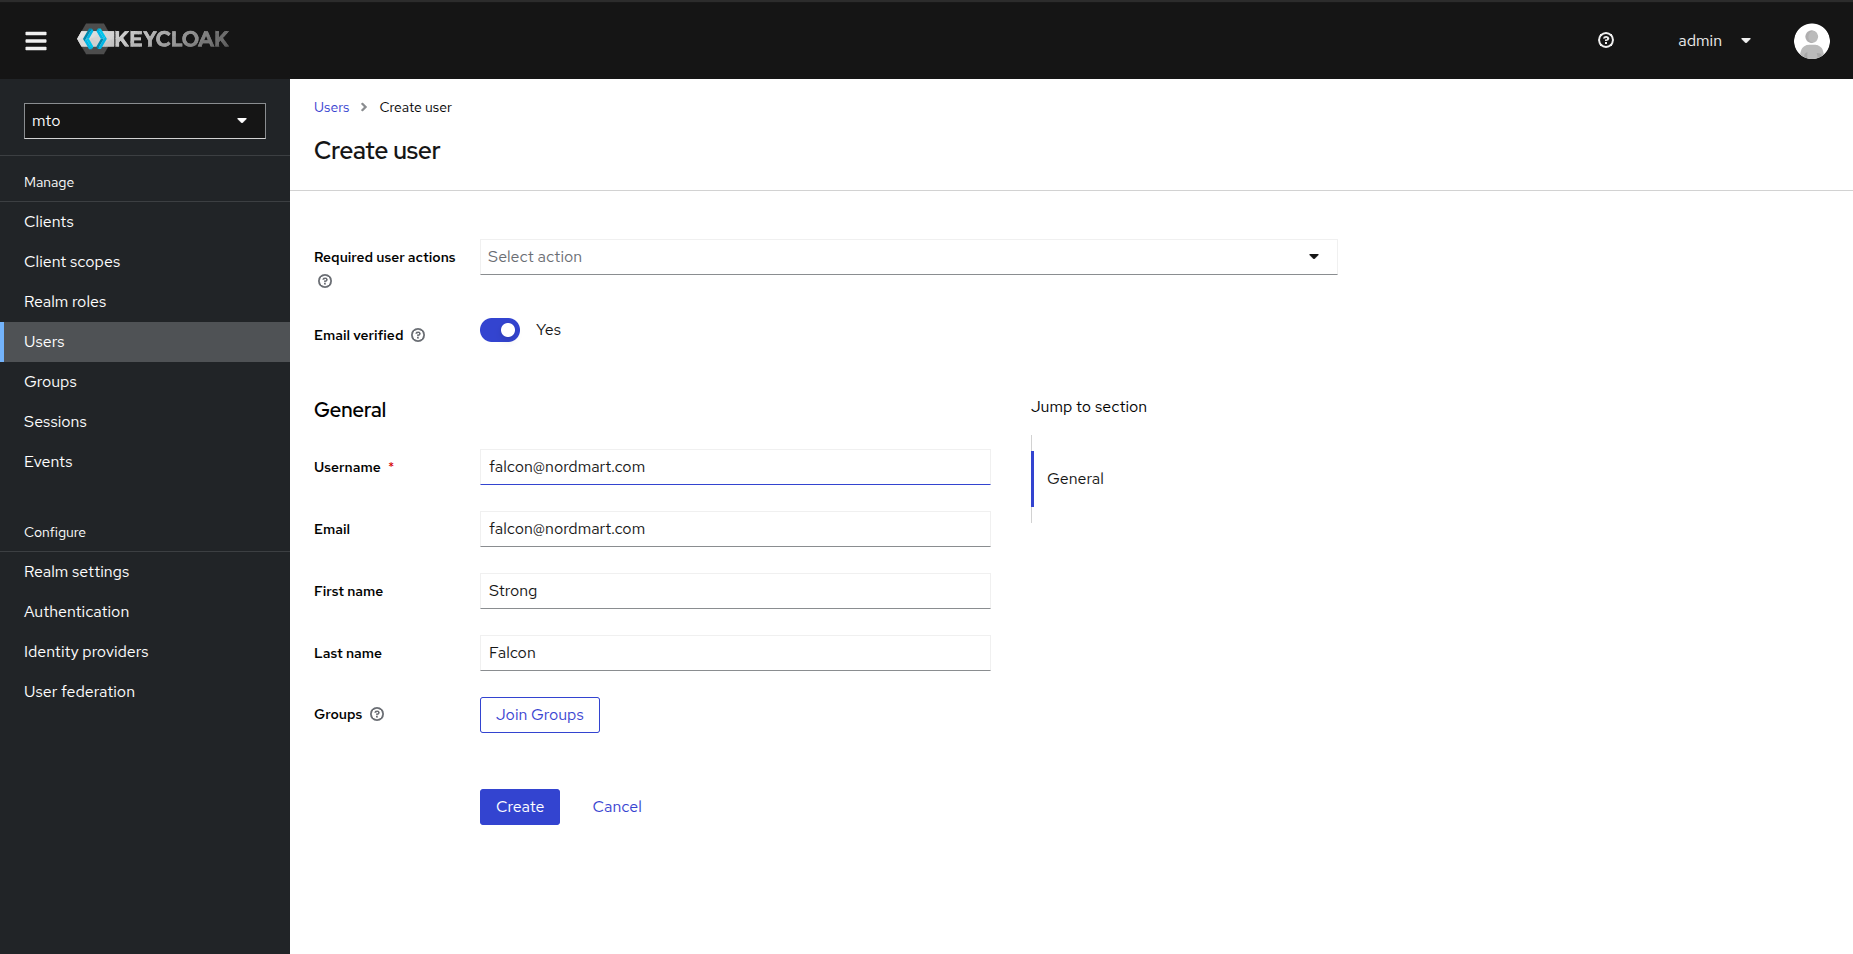
-
Navigate to Credentials tab and set a password
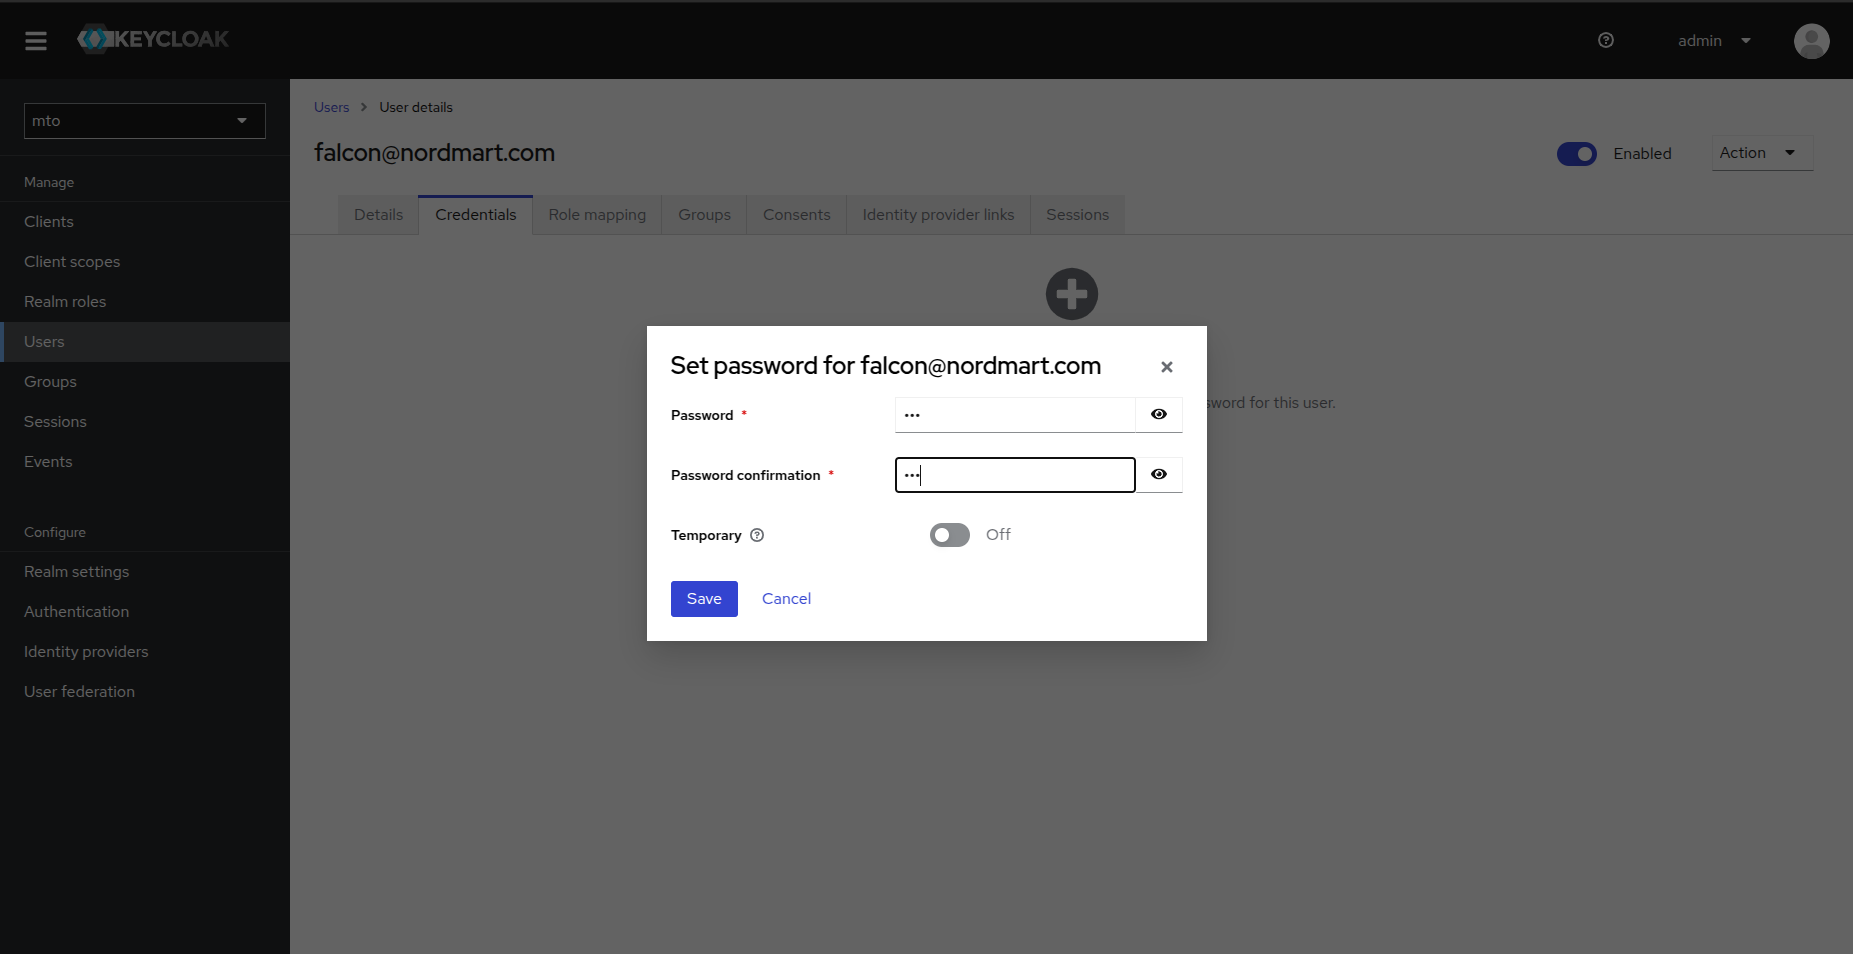
Repeat the same steps to create another user bear@nordmart.com
3. Create MTO Quota#
As cluster admin create a Quota CR with some resource limits:
kubectl apply -f - <<EOF
apiVersion: tenantoperator.stakater.com/v1beta1
kind: Quota
metadata:
  name: small
spec:
  limitrange:
    limits:
    - max:
        cpu: 800m
      min:
        cpu: 200m
      type: Container
  resourcequota:
    hard:
      configmaps: "10"
      memory: "8Gi"
EOF
4. Create MTO Tenants#
As cluster admin create 2 tenants logistics and retail with one user each:
kubectl apply -f - <<EOF
apiVersion: tenantoperator.stakater.com/v1beta3
kind: Tenant
metadata:
  name: logistics
spec:
  namespaces:
    withTenantPrefix:
    - dev
    - build
  accessControl:
    owners:
      users:
      - falcon@nordmart.com
  quota: small
EOF
kubectl apply -f - <<EOF
apiVersion: tenantoperator.stakater.com/v1beta3
kind: Tenant
metadata:
  name: retail
spec:
  namespaces:
    withTenantPrefix:
    - dev
    - build
  accessControl:
    owners:
      users:
      - bear@nordmart.com
  quota: small
EOF
Notice that the only difference in both tenant specs are the users.
5. List namespaces as cluster admin#
Listing the namespaces as cluster admin will show following namespaces:
$ kubectl get namespaces

NAME                    STATUS   AGE
cert-manager            Active   8d
default                 Active   9d
kube-node-lease         Active   9d
kube-public             Active   9d
kube-system             Active   9d
multi-tenant-operator   Active   8d
random                  Active   8d
logistics-dev           Active   5s
logistics-build         Active   5s
retail-dev              Active   5s
retail-build            Active   5s
6. Validate Falcon permissions#
6.1. Switch to falcon#
Set the following environment variables from the access keys generated in previous steps
AWS_ACCESS_KEY_IDAWS_SECRET_ACCESS_KEYAWS_REGION(optional)
Execute the following command to update the kube context
aws configure set region $AWS_REGION
aws configure set aws_access_key_id $AWS_ACCESS_KEY_ID
aws configure set aws_secret_access_key $AWS_SECRET_ACCESS_KEY

aws eks update-kubeconfig --name <EKS_CLUSTER_NAME> --region $AWS_REGION
6.2. Check CLI permissions#
We will now try to deploy a pod from user falcon@nordmart.com in its tenant namespace logistics-dev
$ kubectl run nginx --image nginx -n logistics-dev

pod/nginx created
And if we try the same operation in the other tenant with the same user, it will fail
$ kubectl run nginx --image nginx -n retail-dev

Error from server (Forbidden): pods is forbidden: User "falcon@nordmart.com" cannot create resource "pods" in API group "" in the namespace "retail-dev"
To be noted, falcon@nordmart.com can not list namespaces
$ kubectl get namespaces

Error from server (Forbidden): namespaces is forbidden: User "falcon@nordmart.com" cannot list resource "namespaces" in API group "" at the cluster scope
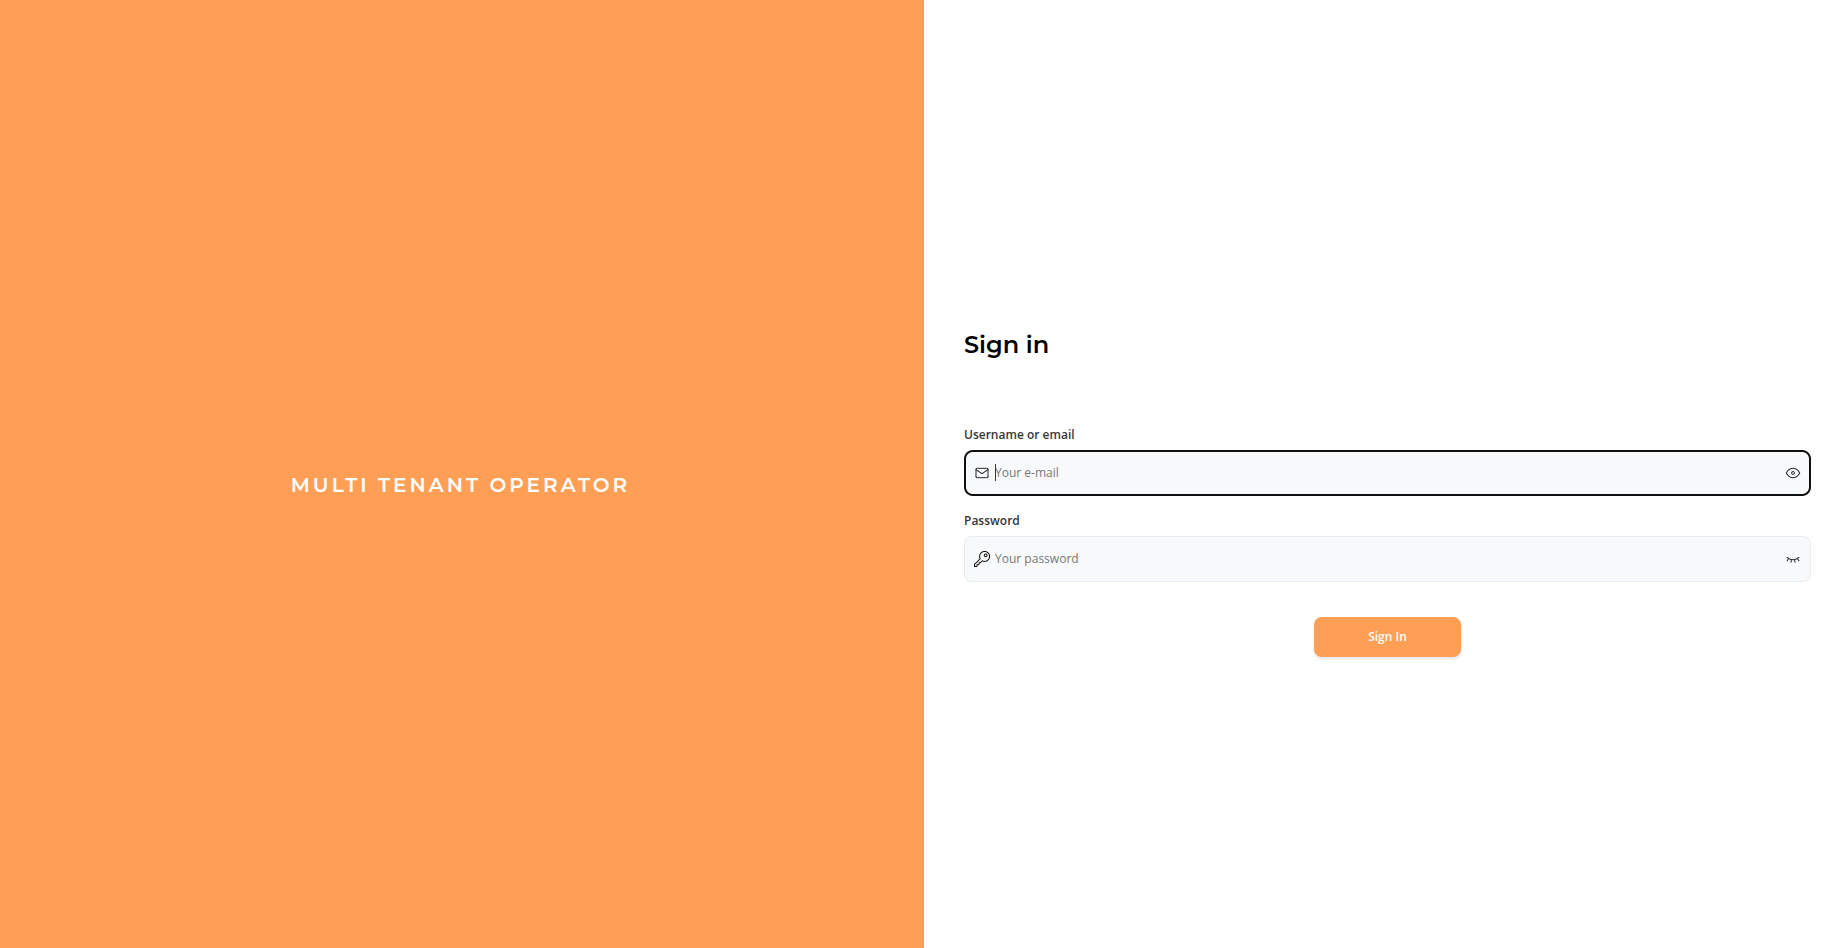
6.3. Validate Console permissions#
Navigate to MTO Console URL and Log In with the Keycloak user credentials.
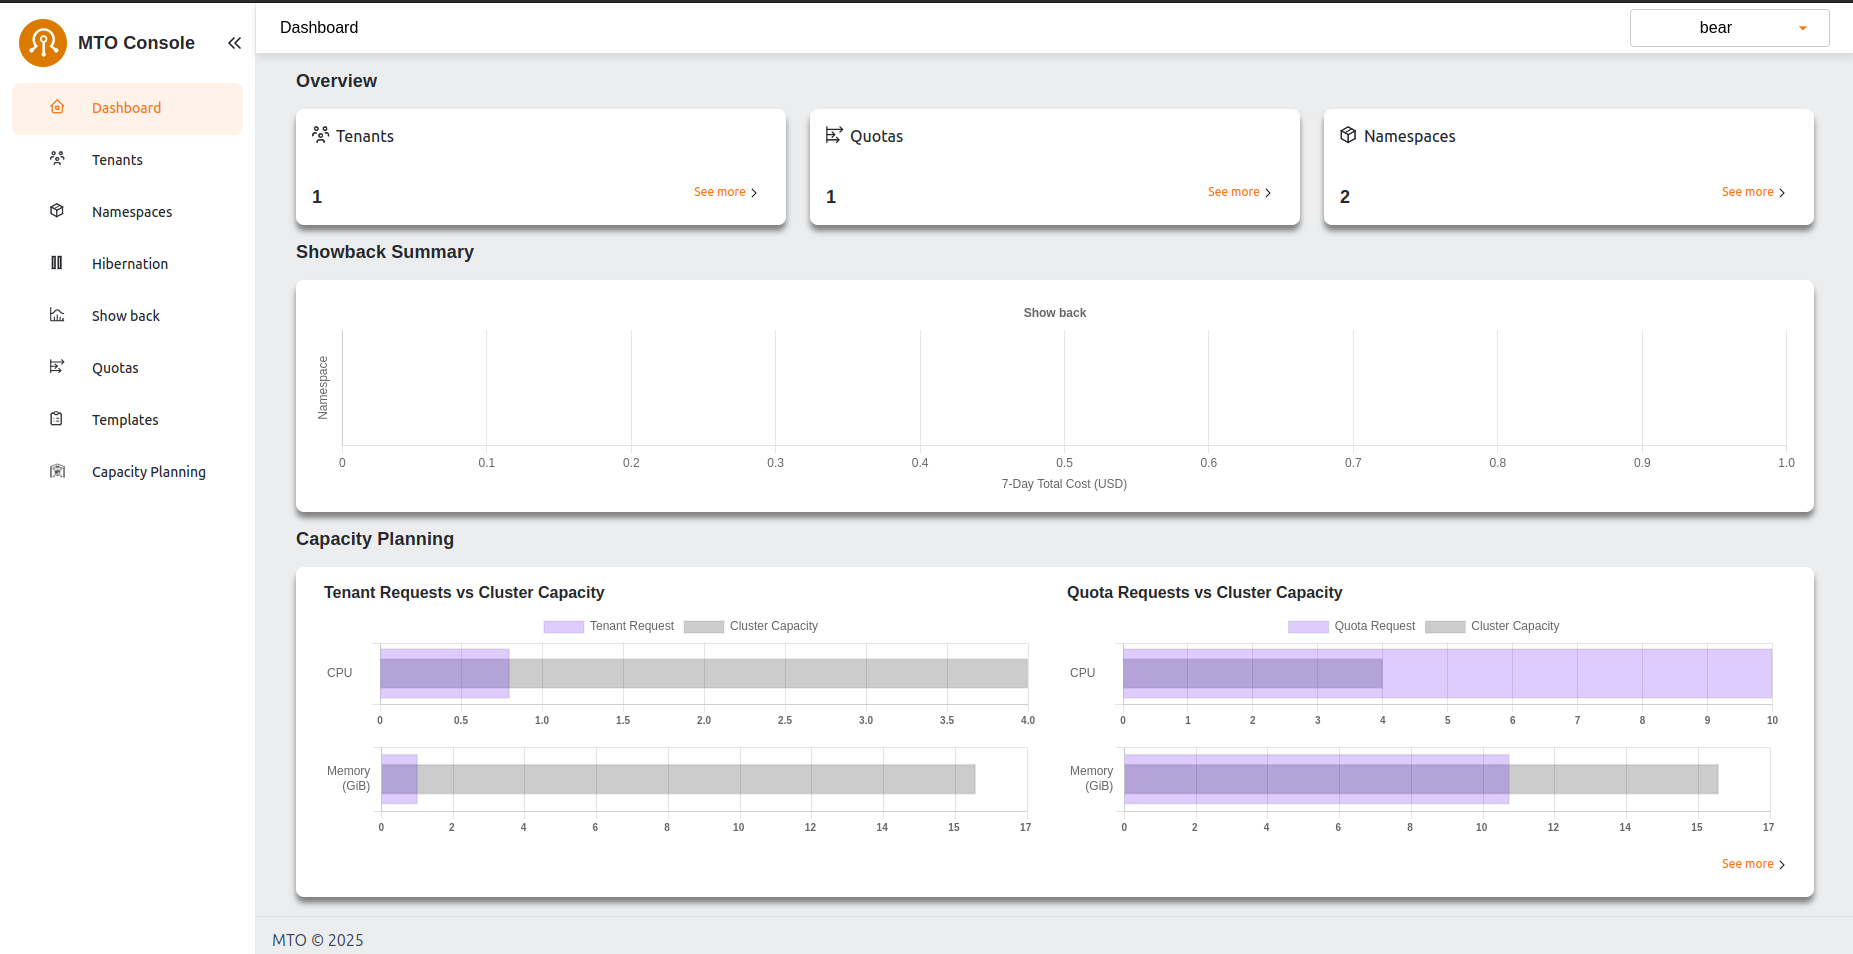
Dashboard will open after the successful login. Now you can navigate different tenants and namespaces using MTO Console
7. Validate Bear permissions#
7.1. Switch to bear#
Set the following environment variables from the access keys generated in previous steps
AWS_ACCESS_KEY_IDAWS_SECRET_ACCESS_KEYAWS_REGION(optional)
Execute the following command to update the kube context
aws configure set region $AWS_REGION
aws configure set aws_access_key_id $AWS_ACCESS_KEY_ID
aws configure set aws_secret_access_key $AWS_SECRET_ACCESS_KEY

aws eks update-kubeconfig --name <EKS_CLUSTER_NAME> --region $AWS_REGION
7.2. Check CLI permissions#
We will repeat the above operations for our retail user bear@nordmart.com as well
$ kubectl run nginx --image nginx -n retail-dev

pod/nginx created
Trying to do operations outside the scope of its own tenant will result in errors
$ kubectl run nginx --image nginx -n retail-dev

Error from server (Forbidden): pods is forbidden: User "bear@nordmart.com" cannot create resource "pods" in API group "" in the namespace "retail-dev"
To be noted, bear@nordmart.com can not list namespaces
$ kubectl get namespaces

Error from server (Forbidden): namespaces is forbidden: User "bear@nordmart.com" cannot list resource "namespaces" in API group "" at the cluster scope
7.3. Validate Console permissions#
Navigate to MTO Console URL and Log In with the Keycloak user credentials.
Dashboard will open after the successful login. Now you can navigate different tenants and namespaces using MTO Console